How to Sand Parquet Flooring: Expert Guide for a Flawless Finish
Jump To:
- What Makes Sanding Parquet Flooring Different?
- How to Prepare Your Parquet Flooring for Sanding
- Choosing the Right Sanding Tools and Abrasives
- What’s the Correct Sanding Technique for Parquet Flooring?
- How to Clean and Finish Your Parquet Floor After Sanding
- Common Challenges and How to Avoid Them
- How Often Should You Sand Parquet Floors?
Parquet flooring is known for its elegance and craftsmanship, as well as its intricate geometric patterns and rich wood tones. Over years of wear, these floors may lose their original lustre, prompting a need for sanding and refinishing. Sanding parquet requires a careful approach to preserve its delicate pattern and intricate grain.
In this guide, we’ll show you clear steps to restore your parquet floor to its former beauty, whether you’re a seasoned DIYer or considering professional help.
What Makes Sanding Parquet Flooring Different?

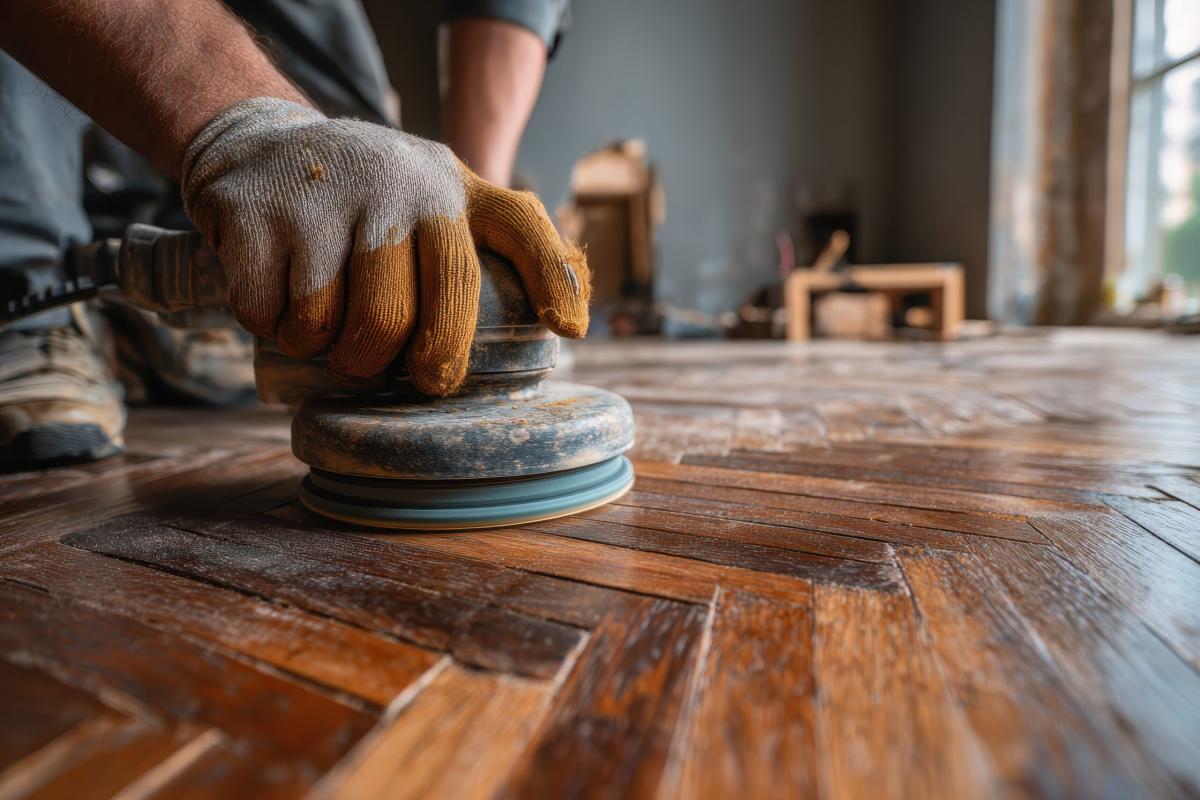
Parquet floors are made from individual wood pieces. These are arranged into complex patterns, such as herringbone, chevron or basketweave. Unlike straight plank flooring, the grain direction varies block by block, requiring specific sanding techniques. These wood pieces can be thin and vulnerable to chipping if handled roughly. Additionally, parquet floors may have gaps that widen or narrow with temperature fluctuations, affecting how fillers and sanding can be applied.
As a result, sanding parquet needs to be precise. Typically, you would combine belt sanders for broad areas with orbital or edging sanders for corners and intricate sections. Maintaining the details of the floor while smoothing the surface calls for moderate pressure, progressive sanding grits and patience.
How to Prepare Your Parquet Flooring for Sanding

It’s important that you prepare your parquet flooring properly before you start sanding:
- Inspect and Repair: Check for loose or damaged blocks. Loose pieces should be re-glued. But badly damaged sections might need replacement to keep the pattern cohesive.
- Clean Thoroughly: Vacuum to clear dust and debris. Then mop with a damp cloth to create the perfect sanding surface.
- Clear the Room: Remove all furniture and rugs. This gives you complete access to your floor. Plus, it’ll help you avoid damaging your furnishings.
- Consider Gap Treatments: If you have a solid subfloor, like concrete, you can fill gaps with a sawdust and wood glue mixture after sanding. Be careful with suspended floors as movement might cause fillers to crack.
Choosing the Right Sanding Tools and Abrasives
For parquet, you need to choose the right tool:
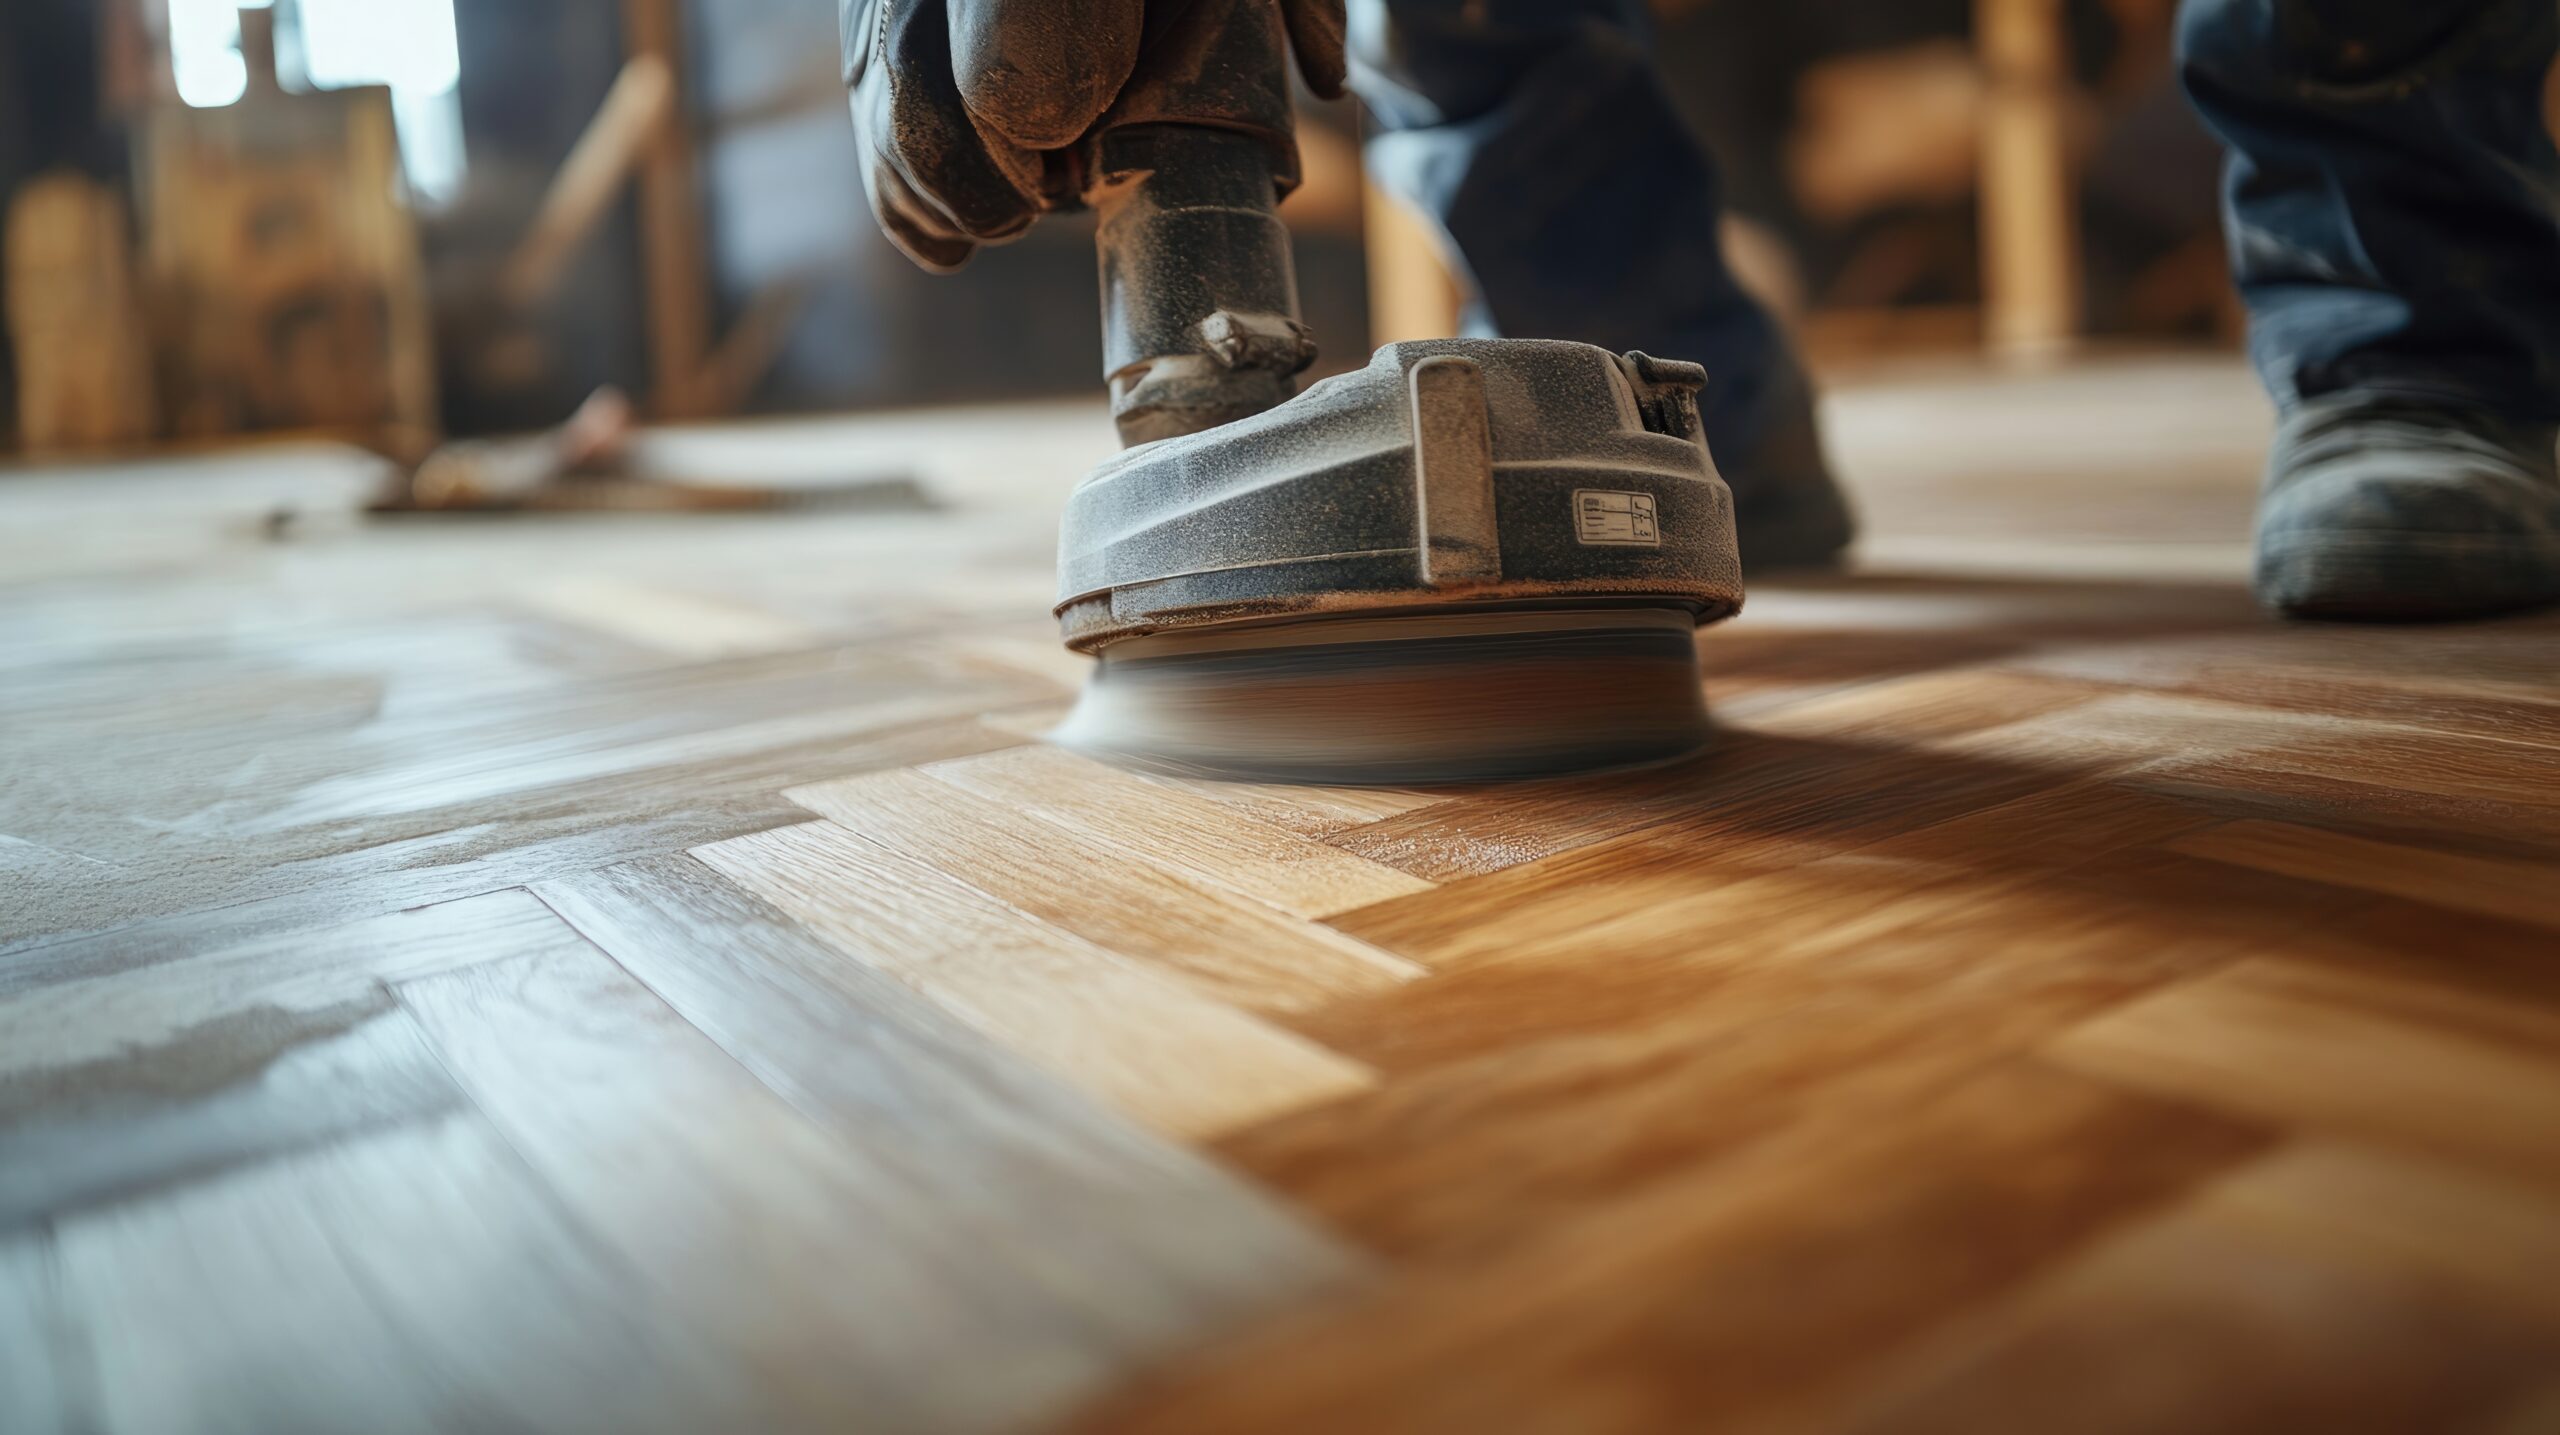
- Belt or Drum Sanders: These are perfect for initial coarse sanding across larger areas, as they remove old finishes and level the surface. But, they require skilled handling to avoid digging into thin, patterned wood.
- Orbital Sanders: Ideal for finer sanding and edges. This offers smoother results without harsh material removal.
- Edge Sanders and Hand Sanding Blocks: Essential for corners and intricate areas to avoid damage and ensure even sanding.
When it comes to sanding grits, it’s best to begin with coarse grit (around 36-40) if the floor is heavily worn or finished. Then move to medium grit (60-80) as the surface smoothens, finishing with fine grit (100-120). This makes sure there are no scratches or sanding marks left. Following the right sequence also prevents swirl marks and polish-like surfaces, which can impair finish adhesion.
What’s the Correct Sanding Technique for Parquet Flooring?
Sanding parquet requires finesse:
- Follow the Grain Where Possible: For patterned floors like herringbone, sanding is usually at a 45-degree angle to the grain, which is in line with the pattern’s direction.
- Keep Sander Moving: Avoid pressing hard or stopping in one spot, as this can cause gouges or unevenness.
- Multiple Passes: Sanding doesn’t happen all at once. It starts coarse and finishes fine to create a super smooth finish.
- Regular Inspections: Make sure to check your parquet frequently. This is to prevent over-sanding or missed spots.
- Edge and Corner Focus: Orbital or hand sanding is generally used with the pad moving parallel to the grain. Careful, even pressure is crucial to avoid tipping the sander, which can damage nearby wood slats.
- Fill Gaps Post Sanding: A filler made from clean sawdust and wood glue can blend well with your parquet’s tone.
How to Clean and Finish Your Parquet Floor After Sanding
Before you can apply your finish, it’s important that your floor is completely clean:
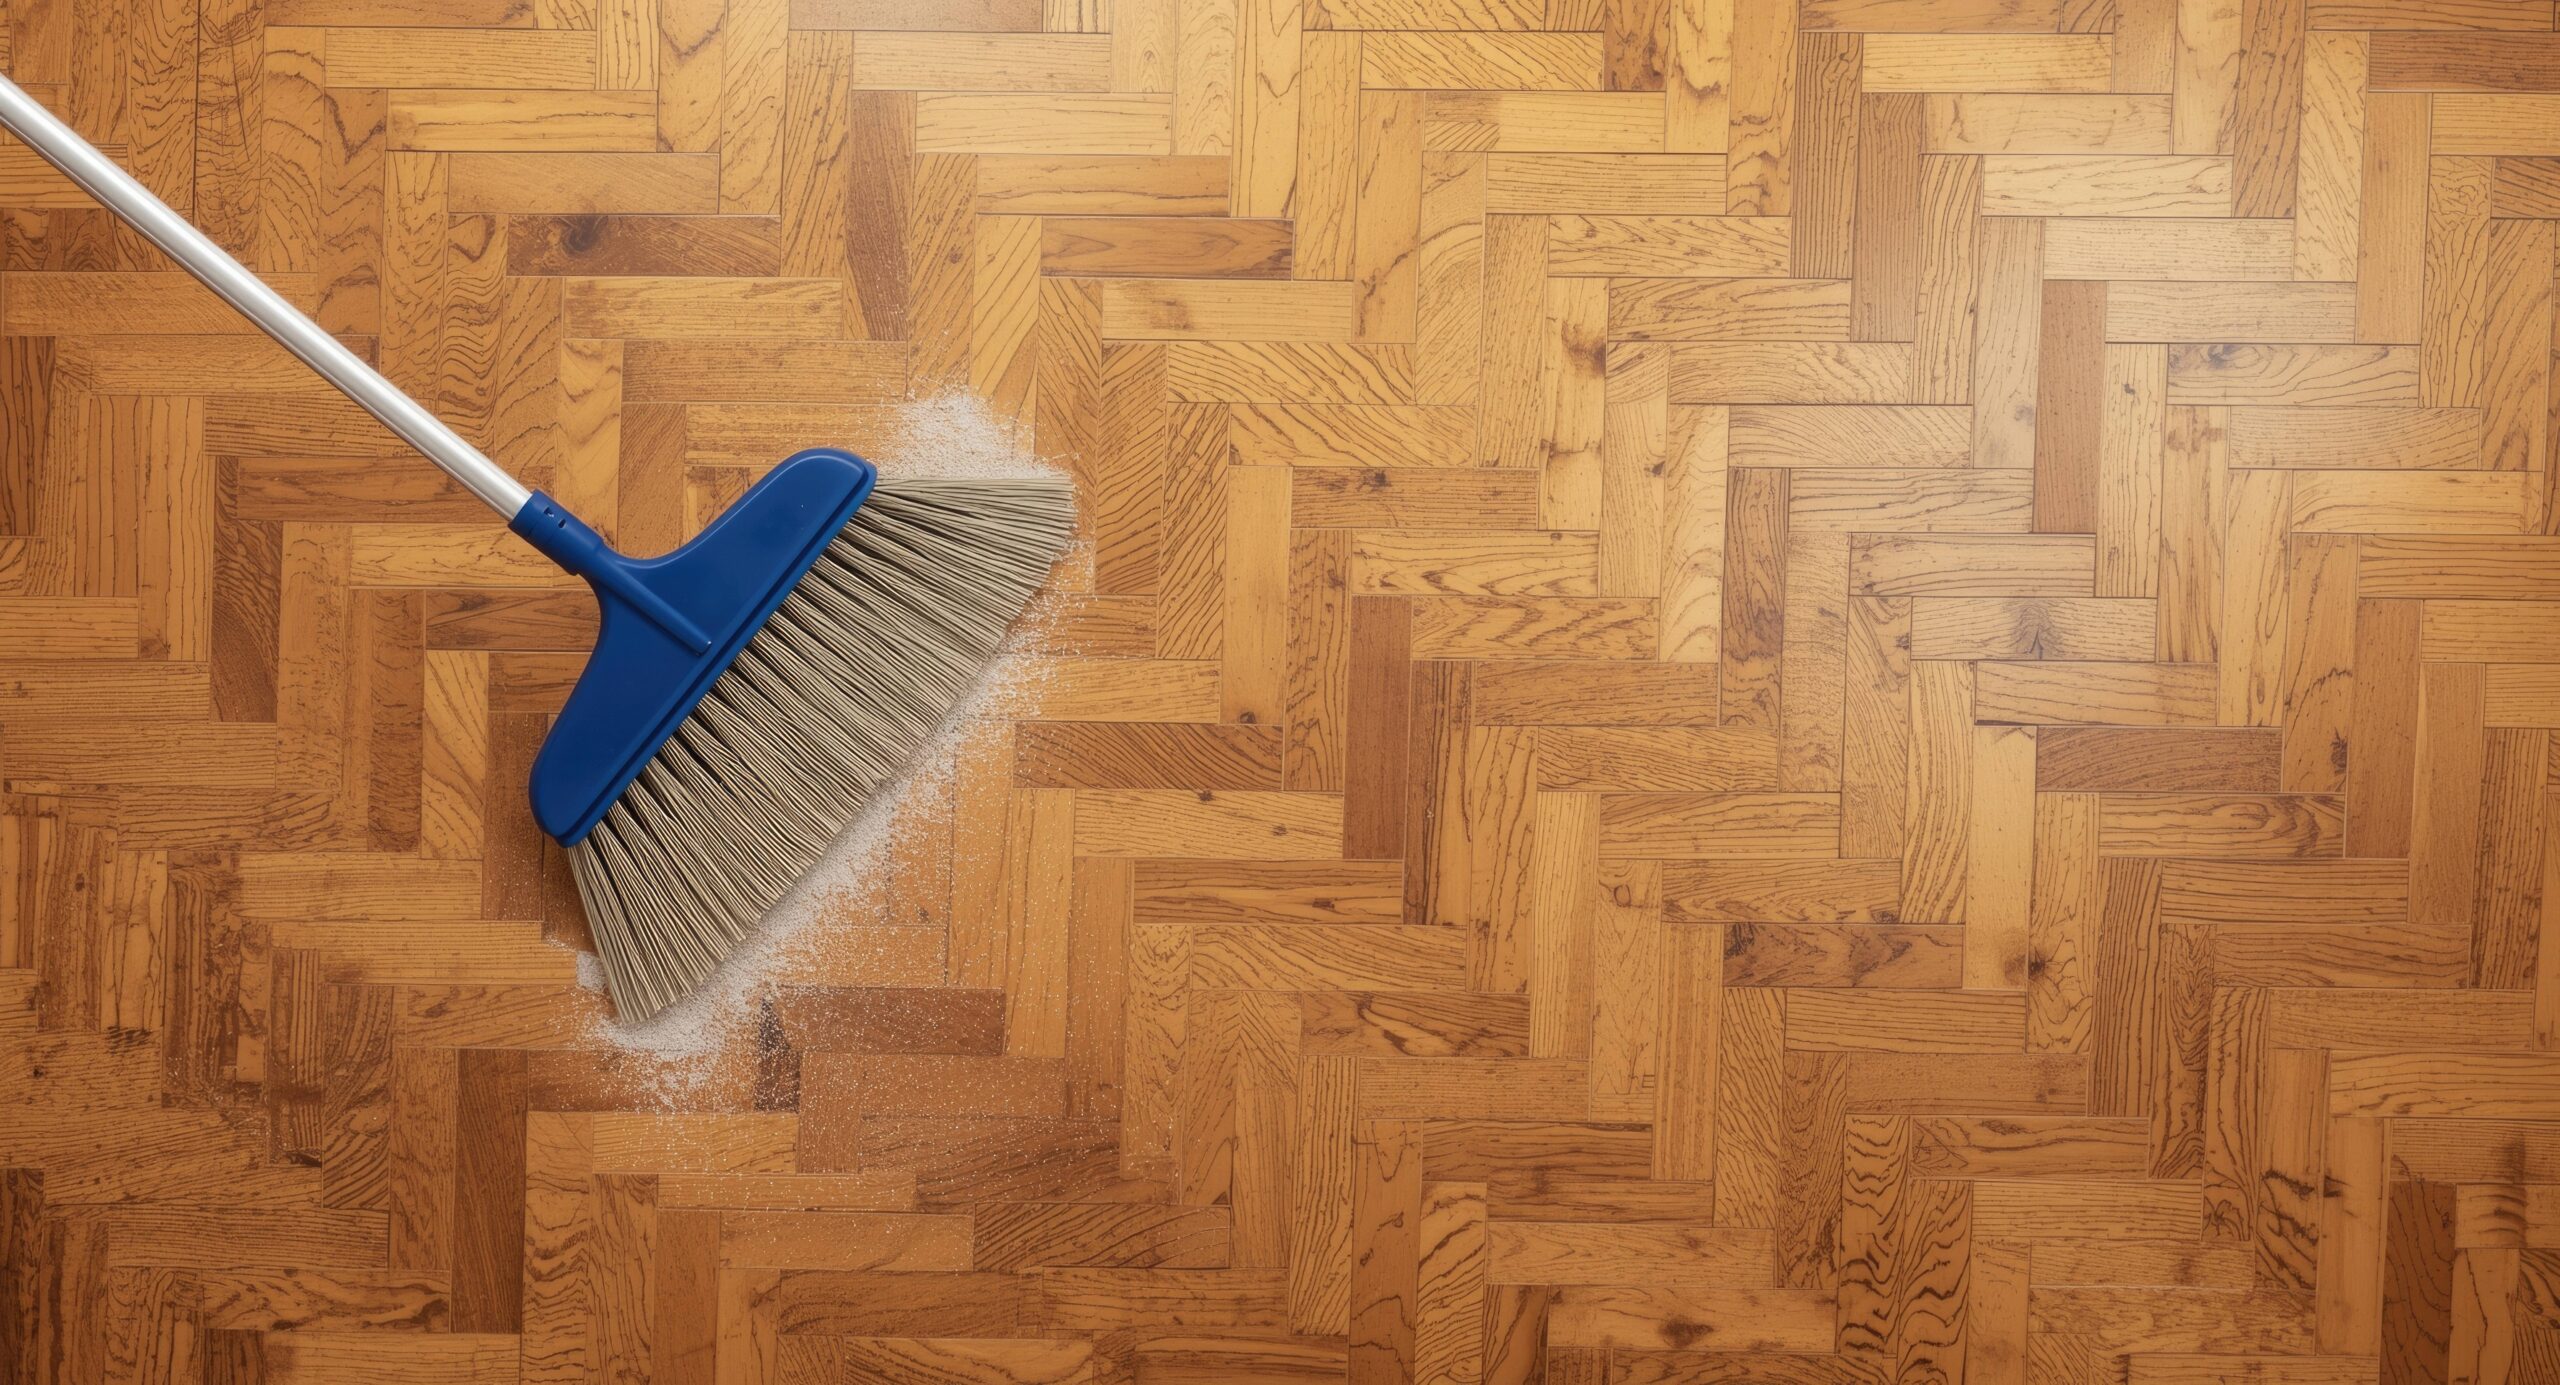
- Remove all the dust. Make sure you check any gaps for trapped particles too.
- Think about what look you want for your parquet floor when considering your finish. Varnish for durability and gloss, oil for a natural matte look or wax for softness.
- Apply evenly! You want to work the finish in the direction of the grain to enhance the pattern and avoid streaks.
- You might need to apply multiple coats. Follow the instructions and allow plenty of drying time between coats.
- Drying times are important! Avoid walking on or returning furniture too early, as this can cause damage.
Common Challenges and How to Avoid Them
- Avoid excessive pressure! Heavy-handed sanding risks chipping parquet slats or creating uneven spots.
- Choose specific abrasives, as using a grit that’s too fine too early can polish rather than sand the wood. This can affect how well the finish sticks.
- Be patient! Sanding and finishing parquet is a lot of work and takes time. Make sure to plan accordingly.
- Consider professional help if your floor has a thin top layer or extensive wear, as this can prevent costly mistakes.
How Often Should You Sand Parquet Floors?
When it comes to parquet flooring, regular maintenance is important:
- Sanding every 7-10 years is recommended to prevent wear buildup.
- Light repairs, such as buffing and recoating, can extend the time between full sandings.
- Regular gentle cleans and the use of furniture pads also protect your floor against daily use.
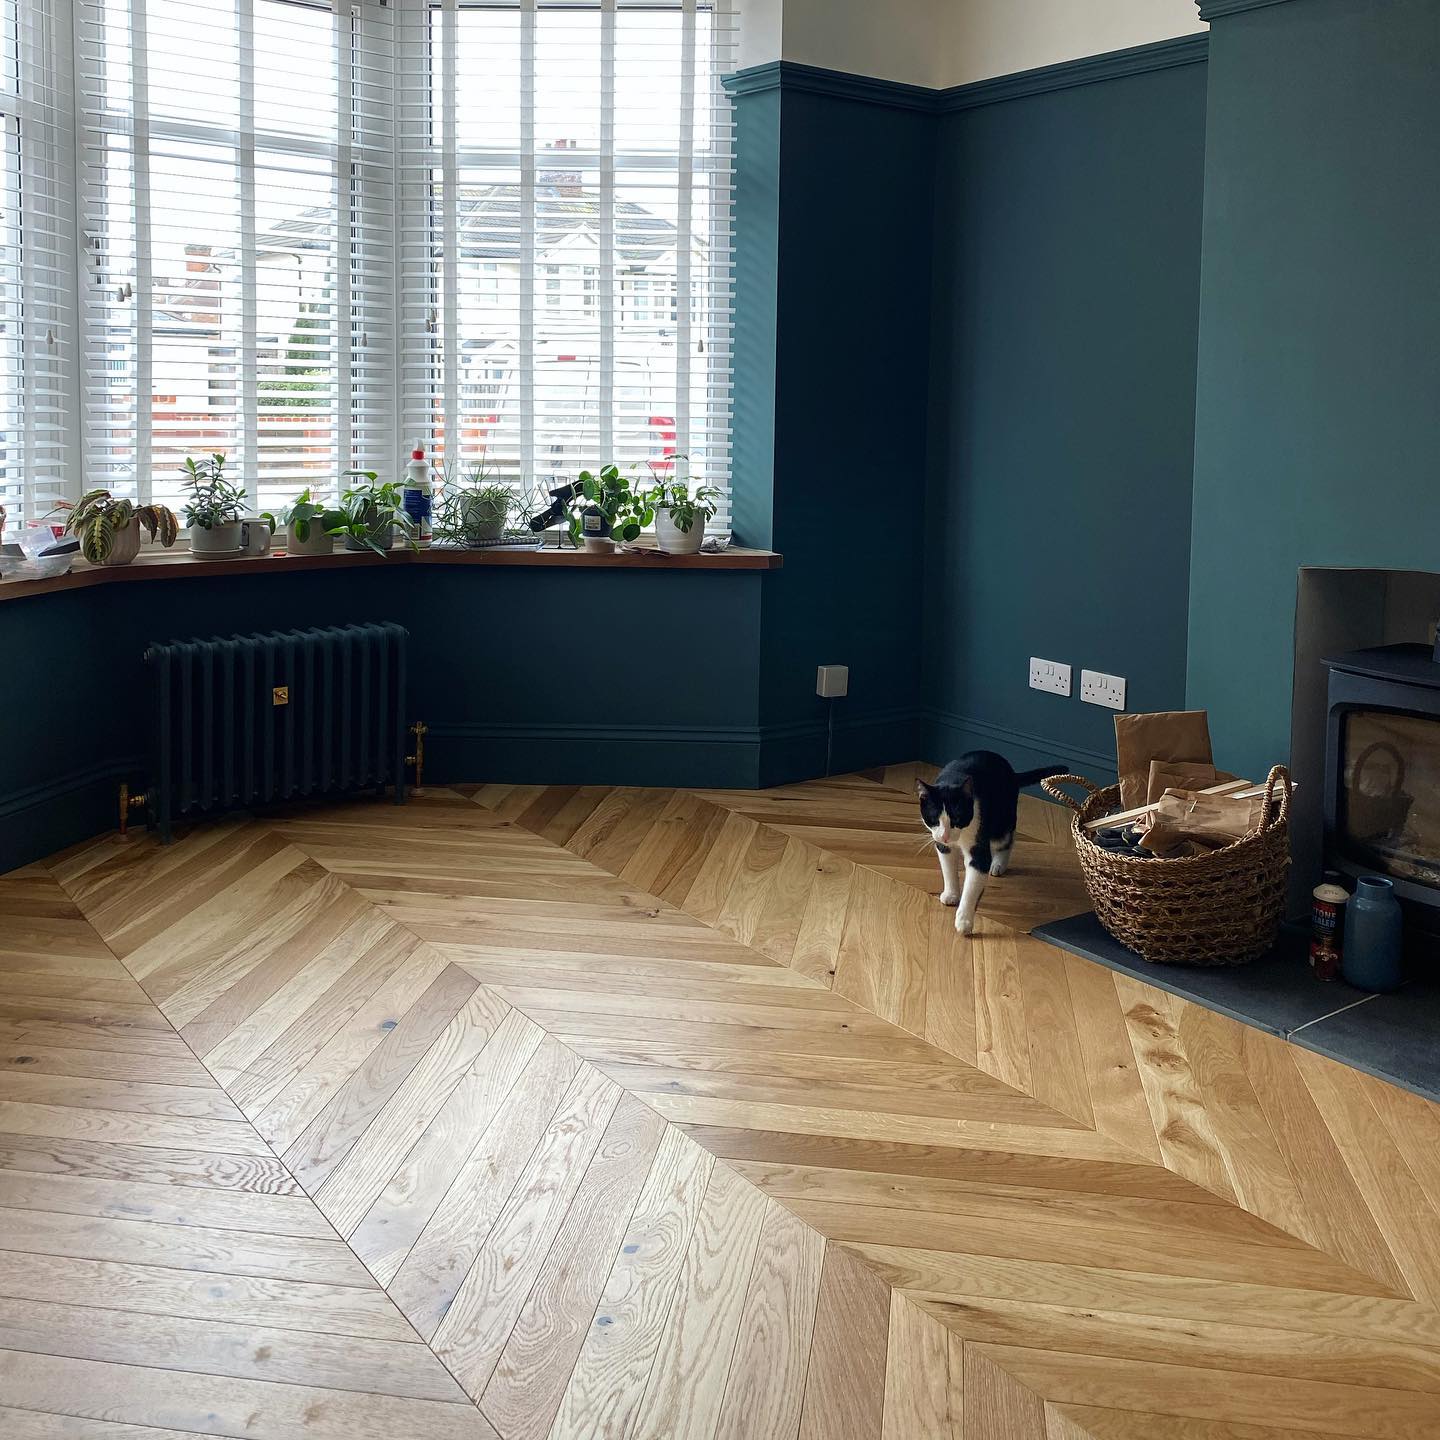
A beautifully sanded parquet floor is incredibly rewarding. With the right prep, tools and techniques, you can keep the natural charm of your floor. Plus, it’ll protect its intricate grain and structure for years!
Get Social
Still wondering how to restore your parquet flooring? Get in touch with our friendly flooring experts - they’ll be happy to answer any questions about sanding and refinishing.
Don’t forget to follow us on Instagram and TikTok, where you can keep up to date with all the latest news, blog posts and helpful tips. We’d love to see your floor! Tag us on Instagram at #MyLuxuryFloor and mention us on TikTok @luxuryflooringfurnishing.